How to grow stevia from seeds at home
Stevia belongs to those cultures that are not only of decorative value, but also of gastronomic interest. Growing stevia at home from seeds is a rather troublesome procedure, since it has a low germination rate. Only by observing a few rules for sowing and keeping seedlings, you can get a valuable bush of honey grass.
Characteristic
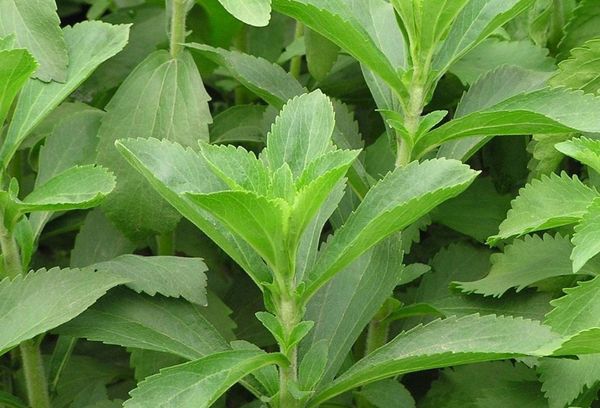
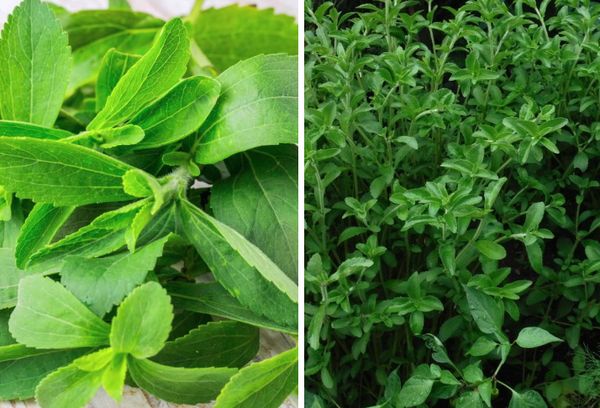
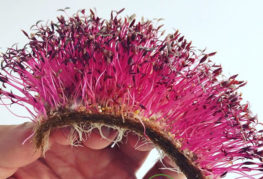
Stevia is a species of herbaceous perennial plant from the Aster family, numbering over 250 species. It is grown both on site and in pots and pots. Stevia is cultivated as an annual, as it does not tolerate frost well. In cold regions, a species of honey stevia is grown: it is a branching shrub up to 80 cm in height.
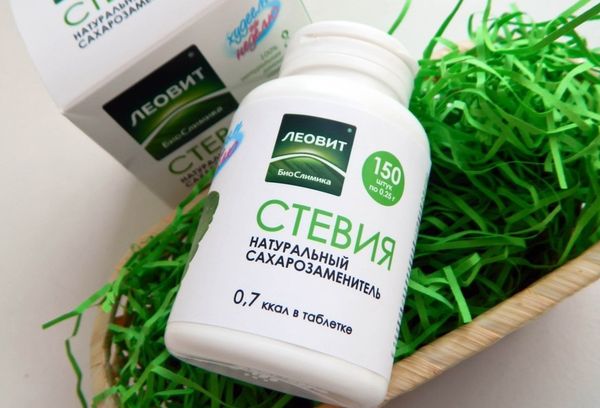
Stevia is a frequent visitor to the plots, and this is not surprising: the plant has beneficial properties. It is appreciated by people with diseases such as diabetes mellitus, metabolic disorders, and those who prefer to consume only natural sugars. Stevia leaves contain a natural sweetener called stevioside. It is many times sweeter than sugar and is considered the sweetest natural product. At home - in South America - the Indians prepared a sweet drink from stevia leaves.
Seed selection and preparation for sowing
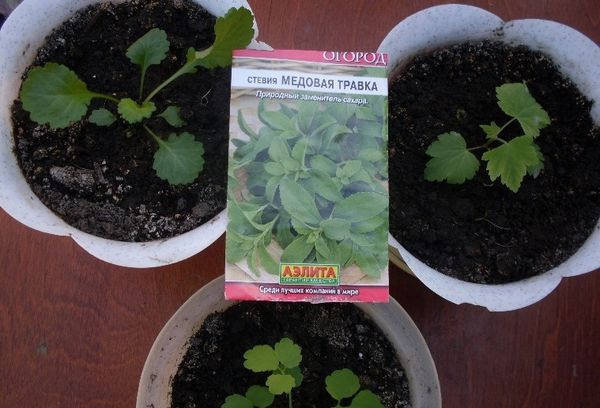
The plant in mid-latitudes is grown only by the seedling method. Sowing begins in late March or early April. The seedling period for stevia will last 2 months - just until summer, when the seedlings will be able to adapt in the heated area. Seedlings are moved to the garden bed only after the time of return frosts has passed - in late May and early June.
Stevia seeds are small, 4 mm long and 0.5 mm wide. Stevia does not germinate well, so gardeners prefer buying seedlings. Before planting, you can test the seed: you need to track how the seed falls. If strictly down, then it will germinate with a high probability. If the seed spins when it falls, then it is better not to plant it - the probability of success is low.
Honey stevia is not particularly demanding on the soil. One condition: it must not be salty. The plant develops well on loose sandy loam soils. Fertile soil is suitable for him, for example, a mixture of 3 parts of black soil and 1 part of humus. Another option for the substrate: sod land - 1 part, humus - 1 part and sand - 0.3 parts. Stevia grows poorly on peat soils. It is recommended to mix heavy clay soils with sand for looseness. Stevia is sensitive to moisture retention.
How to sow
Stages of planting seeds at home:
- Before planting, the seeds are soaked in water for 30 minutes, then laid out on a piece of cloth and remain so until completely dry.
- Germination boxes can be of any material. Plastic containers will do.
- The substrate for germination is loosened (passed through a sieve) and disinfected. This is easily done by roasting it in the oven.
- The soil mixture is placed in a box and pressed slightly.
- Stevia seeds are spread over the soil. It is not necessary to deepen them due to their small size.
- Further, the planting is moistened with a spray bottle. Do not water small seeds with a stream of water - it can press them into the soil, and then they will not germinate.
- After sowing, the box is covered with a transparent film or lid.
Advice! If you plan to grow stevia on a windowsill, then the seeds can be sown directly into boxes of a suitable size.
Seedling care
After sowing, the seed box is kept in a bright and warm place, such as a south or southwest window.The recommended temperature is + 25 ° C. At first, some gardeners put boxes under an ultraviolet lamp, without turning it off even at night.
The first shoots appear after 5-14 days. After the sprouts hatch, the shelter must be removed. Daylight hours for young stevia should last at least 15 hours. The boxes are placed on a light-colored windowsill. Stevia must be protected from drafts and sudden temperature changes.
With the appearance of real leaves, the seedlings are thinned out, only the strongest shoots remain. Weeds may get into the box. Distinguishing stevia from weeds is simply due to its slow growth and diminutive size. Extraneous shoots must be removed, otherwise they will suffocate the culture.
Sprouts with 3-4 leaves dive into separate containers or into a more spacious box. The conditions for the soil are the same, drainage is laid at the bottom of the box.
Advice! Seedling boxes should be kept in a separate room from other plantings. Honey grass doesn't like neighbors.
Seedling care:
- Watering is done very carefully. Water should not injure fragile stems. Watering should be done in moderation: the soil should not be soggy. From time to time, boxes are allowed to be placed in water, that is, to organize bottom watering.
- Every 7 days, fertilizing is applied in the form of a mineral complex.
- When the height of the shoots reaches 12 cm, they need to be shortened by 3-4 cm. This procedure will help the plant to start branching - to form lateral shoots.
- The plant is not susceptible to pests in mid-latitudes, but at the seedling stage it is vulnerable to a black leg. This is a fungal disease that is difficult to cure, it is easier to get rid of infected plantings. Preventive measures: calcining the soil before planting or treating it with a weak solution of potassium permanganate or fungicide. And also moderate watering, exclusion of liquid stagnation.
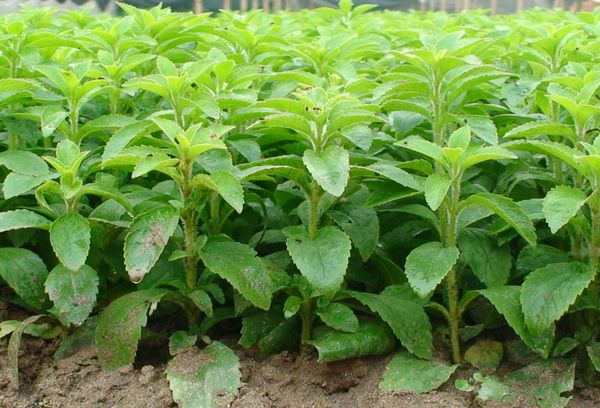
Outdoor planting and care of mature plants
In an open area for stevia, a loose, nutritious, preferably slightly acidic or neutral soil is also selected. It will not hurt to fertilize the garden land with compost or humus, you do not need to add peat.
The landing site should not be exposed to constant winds. Necessarily good, slightly diffused lighting. Placing bushes on the western and southern slopes will greatly facilitate the care. Stevia does not tolerate waterlogging well, therefore, planting holes do not dig in lowlands and places with a close occurrence of groundwater.
In order not to destroy the two-month labor, the seedlings are prepared before being resettled in the ground - they are tempered. Hardening procedures begin 1-2 weeks before transplantation. Every day the boxes are taken outside and kept there for several hours. The time spent on the street increases every time. Tempering weather should be warm and sunny.
How to plant stevia seedlings on the site:
- Disembarkation is made when the temperature outside is set at least + 18 ° C, and in the evening.
- The soil is dug up before planting, all weeds are removed from it. If necessary, add sand, humus or compost.
- The approximate depth of the planting pits is 8 cm.In order for the stevia to grow comfortably, the distance between the holes is at least 40 cm.
- The seedlings are well watered to reduce trauma to the roots, and rolled into the holes along with a clod of earth, then buried in.
Advice! For stevia, which will be grown as a room, a special container is selected. It should be wide, as the root system develops in breadth.
Rules for caring for adult plants:
- Immediately after transplanting, the soil is sprayed from a spray bottle with settled water at room temperature.
- The root system of the plant is located close to the surface, so it must be protected from drying out by mulching.
- Watering is done 3-4 times a week. The soil should not be dry or waterlogged.
- After each watering or rain, the soil is loosened so that oxygen can freely flow to the roots. Loosening is carried out very carefully due to the close occurrence of the roots.
- All weeds are necessarily removed as soon as they are noticed.
- Spring-summer dressings contain nitrogen, which is necessary for the development of the vegetative part. In the fall, stevia is fertilized with compost or humus.
- The stevia growing on the site should be pruned periodically and the leaves removed. Long shoots are cut in half, short ones by a third. They should have at least 3 pairs of leaves. This is necessary for the renewal of the plant: new shoots will appear from the dormant buds. Flowers are also removed to increase yields. All cuts are processed with garden varnish.
- Stevia does not hibernate in cold winters. To save it, it is dug up, moved to a box and stored indoors until the next season.
Procurement of useful raw materials
Stevia is more often grown for the purpose of obtaining nutritious raw materials, and not as a decoration for the garden. To prepare a natural sweetener, you need to wait 4 months after sowing the seeds. Closer to autumn, a sufficient amount of stevioside accumulates in the leaves. In September, the active preparation of the plant for wintering begins, which means the supply of the substance in the leaves.
How to prepare a natural sweetener:
- The stem is cut or broken off.
- All the leaves are torn off from it.
- Then they need to be dried. There are two ways: natural - in the sun, or artificial - under an ultraviolet lamp. It is necessary to dry the raw materials no more than 12 hours, otherwise it will turn out to be not sweet enough.
- Finished leaves are stored in closed containers.
How to use honey grass leaves:
- A couple of the leaves can be added to your tea for sweetening.
- Delicious - brew stevia and drink like herbal tea.
- It is useful to rinse the mouth with decoctions of leaves.
- Damaged skin is treated with infusions of stevia.
Although stevia belongs to capricious plantings, its cultivation brings many benefits. This is not only a valuable raw material, but also experience in germinating seeds with low germination. If the gardener managed to grow stevia at home, many other plantings become familiar to him. Well, stevia preparations will support the health of those who need natural sweets all winter.


and will be published shortly.