How to grow microgreens at home and what can go wrong?
The human body needs high-quality nutrition containing vitamins and minerals. Growing microgreens helps to saturate the diet with nutrients. You can germinate seeds until 2 true leaves are obtained all year round, using a window sill in an apartment and simple equipment for this purpose. When the right conditions are created, microgreens will yield a crop in a short time.
What are microgreens?
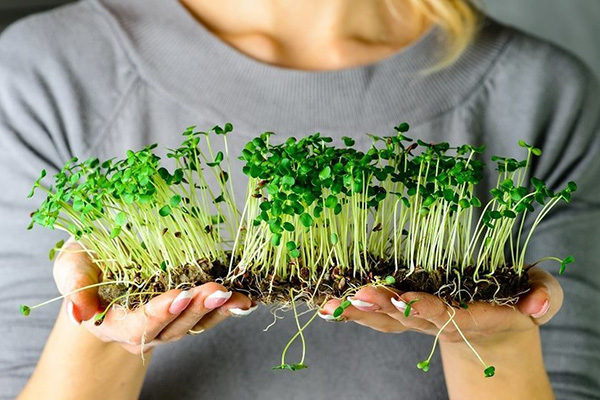
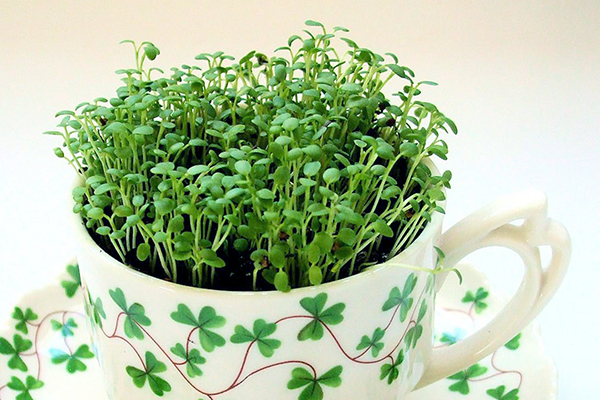
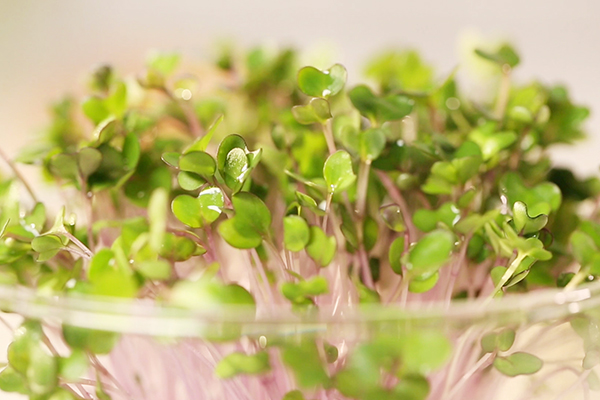
Microgreens, aka microgreens (from the English Microgreens), are young plants obtained by germinating seeds of cereals, greens and some vegetable crops (about 200 species in total). The seedlings reach the desired stage when the first pair of true leaves appears. It is in this phase of growth that plants are most valuable due to the content of vitamins, minerals, biologically active substances in huge quantities.
According to scientists, the benefits of microgreens are ten times higher compared to adult plants.
Microgreen should not be confused with seedlings, which are obtained by pecking seeds and are eaten entirely at the stage of cotyledonous leaves emergence. To obtain seedlings, you have to wait only 2-3 days, while microgreens grow to the desired stage in 8-12 days or a little longer (the growth rate depends on the specific culture). In terms of the content of valuable substances, it is ahead of seedlings, so its cultivation is becoming a more promising direction for supporters of a healthy diet.
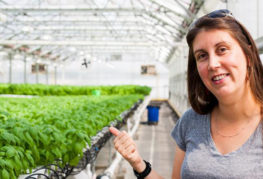
Conditions for growing microgreens on the windowsill
For the timely germination of seeds and the development of seedlings, it is necessary to create optimal conditions. The room should be warm and light enough.
Microgreens will grow successfully at home with the following parameters:
- air temperature - 20-22 ° C;
- daylight hours at least 12 hours;
- constant moderate soil moisture.
For watering, use a small watering can or a spray bottle, water must be supplied in doses. If the substrate is excessively damp or the window is too cold, mold may develop in the tray.
To grow a microgreen with your own hands, you need a phytolamp or a fluorescent lamp. You can use LED lighting fixtures. It is better if the lamp is adjustable in height. The distance from the lamp to the plants should be at least 30 and not more than 50 cm. The backlight will help to grow microgreens even in the winter and autumn seasons - using it, you can place trays not only on the windowsill, but also in the back of the room.
Necessary equipment and substrate
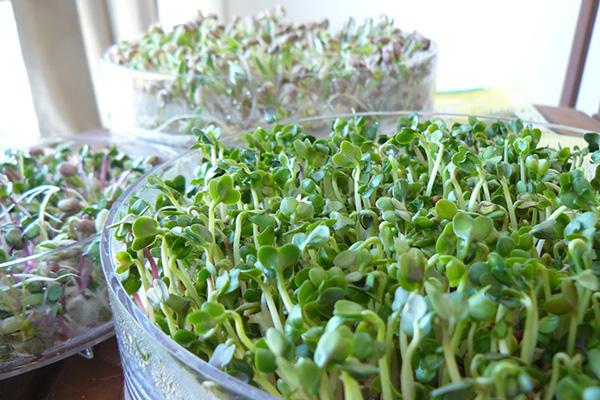
Germination of seeds for herbs is most conveniently carried out in wide trays with a side height of 5–10 cm. These can be plastic containers or glass or ceramic baking dishes. Flower pots are not suitable due to their high height and insufficient planting area.
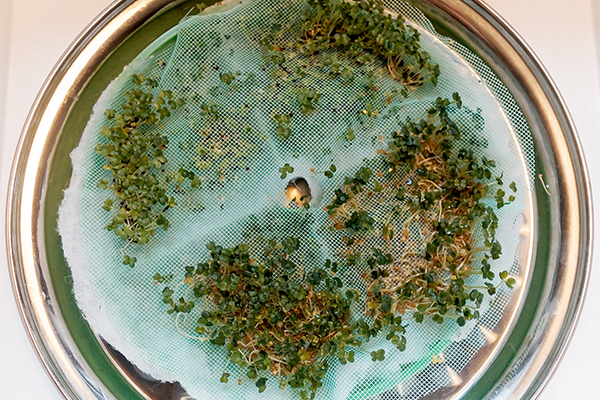
Today in stores you can buy a special germinator, which is a pallet and a mesh insert for seeds. With its help, you can get microgreens at home without using soil. Purified water is poured into the pan, which must be changed daily. Periodically, the water is replaced with a special nutrient solution.
A peat substrate or a mixture of garden soil with river sand and peat is suitable as a soil. The soil must first be calcined in the oven at a temperature of 80-100 ° C.
You can germinate seeds without soil.Used as a substrate:
- coconut substrate;
- linen rugs;
- jute mat;
- sackcloth;
- mineral wool;
- artificial felt;
- perlite;
- vermiculite.
The cheapest materials include gauze and paper towels. The material is placed on the bottom of the tray in several layers.
The method of growing microgreens without land has certain advantages. Plants stay clean and do not need to be washed after cutting.
When germinating in the ground, the shoots often get dirty, but the soil can be used up to 3 times in a row, and various substrates are used once.
You can order a kit for growing microgreens, which includes everything you need, from a container to seeds of several types of crops.
The microgreen sprinkler can be fully automated. Such models are called sprouters. The devices have different capacities and a different number of sections. More expensive sprouters are equipped not only with a timer for watering, but also with humidity, temperature and lighting sensors. The device supports all the necessary parameters in automatic mode. The owner can even control the device from a distance using a mobile app.
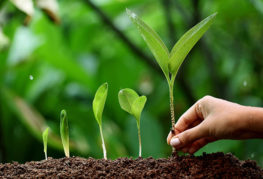
Technology for growing microgreens in pots
Microgreen growing technology is not particularly complex. To plant a microgreen yourself, you first need to prepare everything you need.
Step-by-step instruction:
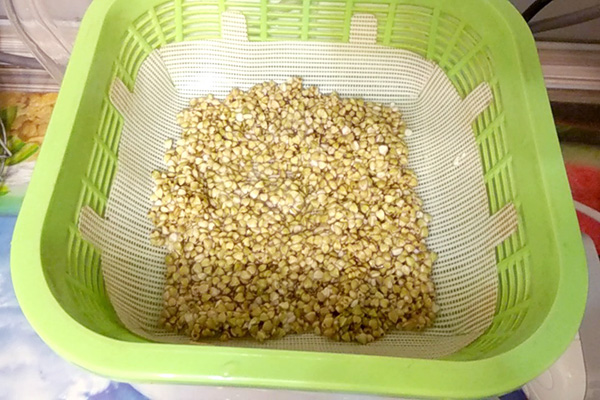
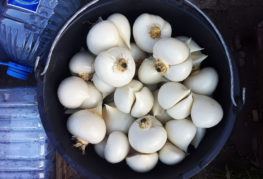
- It is better to soak the seeds in water for several hours, because in production, dressing agents are often used that can get into the greens.
- The soil or artificial substrate is slightly moistened before planting.
- Planting seeds on microgreens should be dense. 3 cm2 on average, up to 10 pieces are placed. seeds. Care must be taken to ensure that the seeds lay evenly. When sticking together, they are separated with fine tweezers or a toothpick.
- Then the crops are lightly sprayed with a spray bottle.
- To create a favorable microclimate, it is better to cover the container on top with a transparent film.
When sprouts appear, the shelter is removed and the pots are placed under the lamp or closer to the window glass. Caring for plants is reduced to watering and maintaining light and temperature conditions.
Fertilizers
When planted in the ground, the plants develop successfully without fertilizers, they have enough of their own reserves and those nutrients that are in the soil, because the period of growing crops using this technology is very short.
If microgreens are cultivated hydroponically, experts recommend periodically pouring nutrient solution into the tray instead of water. It can be prepared on the basis of any complex fertilizer containing macro- and microelements, for example, "Kemira Universal". The concentration of the solution for microgreening should be 2 times weaker than the manufacturer recommends.
You should not get carried away with fertilizers. Due to feeding, the leaves will be greener and brighter, but their structure and taste may deteriorate.
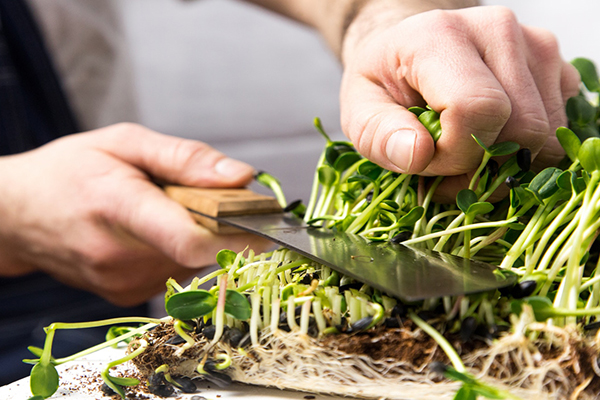
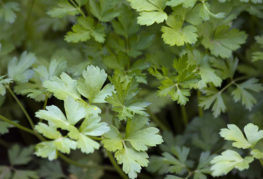
How to remove microgreens correctly?
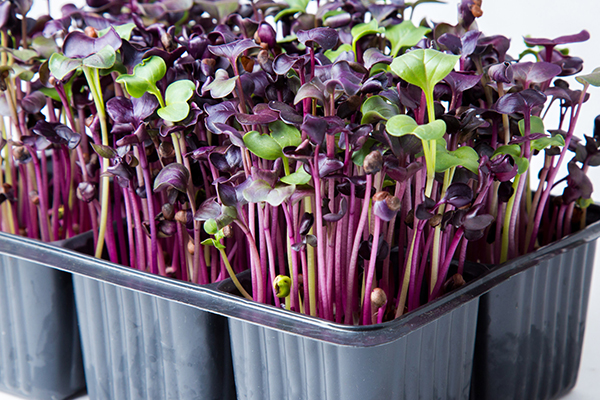
You need to remove microgreens after 2 real leaves appear on the plants. You should not delay the cut - in this case, the leaves become coarser, and the concentration of vitamins in them decreases. Usually the crop is ready for harvest in 8-12 days from the moment of hatching.
Microgreens are carefully cut with sharp scissors. The roots are not used in the future, they are thrown away.
Cutting can be done in two ways:
- In the first case, the plants in the pot are cut at the same time.
- The second option involves thinning - the largest and strongest leaves are removed, and the weaker shoots are left for several more days.
Why doesn't microgreens grow at home?
If a microgreen refuses to germinate, the cause is most likely due to poor quality seeds. They may be old or dry. Soaking the planting material before sowing helps to prevent this problem.
For the successful growth of microgreens, it is very important to maintain optimal conditions for the life of the sprouts.
- With excessive watering in the pot, mold will necessarily develop, and the roots may rot. The appearance of a fungus can be detected by the presence of spores in the form of a gun on the surface of the soil. Root rot manifests itself as an unpleasant odor.
- Drought is no less harmful to developing seedlings - they can stop growing or dry out completely.
Microgreens are watered often, but little by little. The most convenient way is to use a sprayer. With its help, the leaves are irrigated twice a day.
If you water the seedlings with water from a watering can along the edge of the pot, they can develop unevenly - the plants in the center will be much lower. Sometimes this problem is caused by the fact that the material of the tray is too thin and the bottom therefore has an uneven surface. Uneven growth can also be associated with poor lighting organization.
Thus, when planning to grow microgreens for your own needs or for sale, you must definitely pay attention to the study and adherence to technology. In this case, it will be possible to receive products by conveyor method without any problems. It is also necessary to choose the right containers and seeds. In the summer, the microgreen needs to be sprayed more often, in the winter - to organize the backlight. The full cycle of growing microgreens takes no more than 2 weeks.

and will be published shortly.