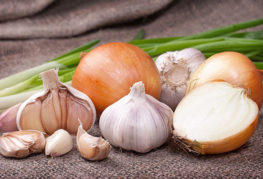
Features of family onions and the secrets of its cultivation
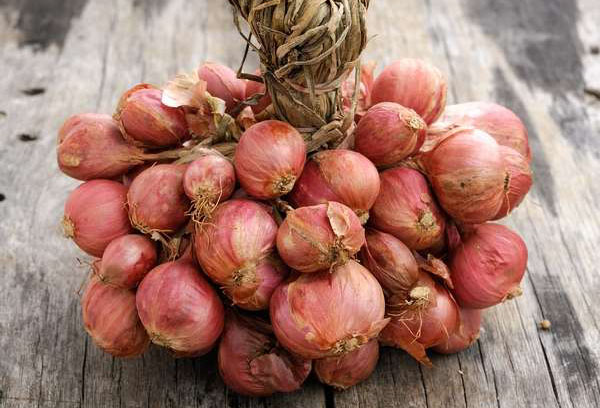
Many vegetable growers spare no effort in growing family onions and appreciate it for its mild taste, long shelf life, yield, early maturity, and lack of tendency to shoot arrows even in frost. It got its name because of the peculiarities of development - several more (nest) are formed around each planted onion. The family is also a multi-pronged onion with an ordinary round turnip, and a shallot (kuschevka), which has an elongated shape and a smaller size. The classic family bow is popularly called blue. In many families, this variety is passed down from generation to generation. Gardeners note its increased resistance to diseases, as well as damage by onion flies.
In order for the turnips not to be too small, it is necessary to create certain growing conditions for the family onion. Experienced vegetable growers have already learned how to influence the size of future bulbs and their number at the stage of preparation of planting material.
Soil requirements
Family onions, like other species, react extremely negatively to heavy and acidic soils. If the site is dominated by clay and stony deposits, then it is necessary to add sand, organic matter and mineral fertilizers, lime or dolomite flour to the soil at least a year before planting. If you plant a family onion in clay soil, then the output will be a nest of small turnips the size of a sweet cherry, which will quickly dry out during storage.
Family onions thrive on light, crumbly soils with a uniform structure. An excellent folk way to make the soil looser is to add crushed eggshells to it. Experienced gardeners collect it all winter, and in the spring they grind it and put it in the beds together with compost or rotted manure (the latter - in the amount of 3-4 kg per 1 m2).
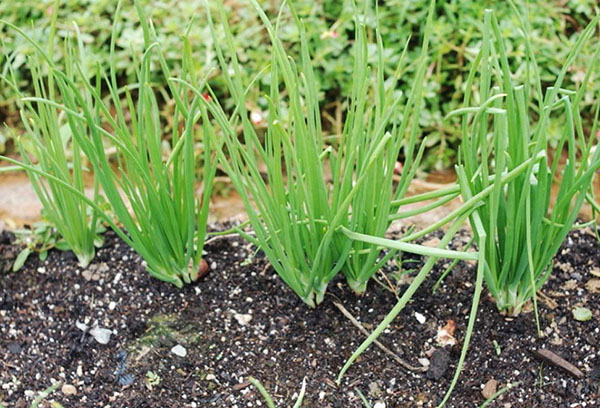
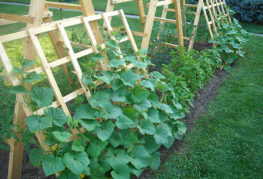
The site for planting family onions should be well ventilated and sunlit. This is important because almost the entire nest comes out of the soil during the ripening period.
Preparation of planting material
Experienced vegetable growers know a number of features of preparing family onions for planting, so they get good results when growing them.
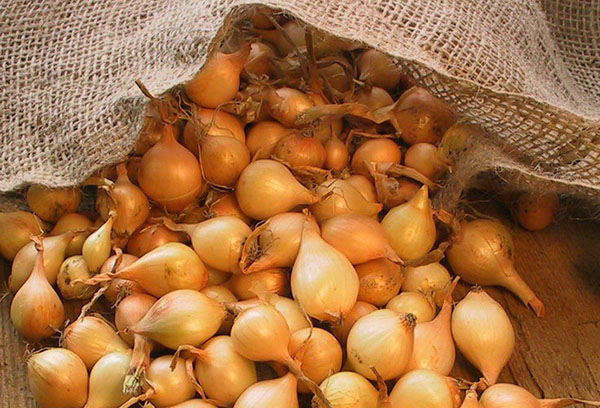
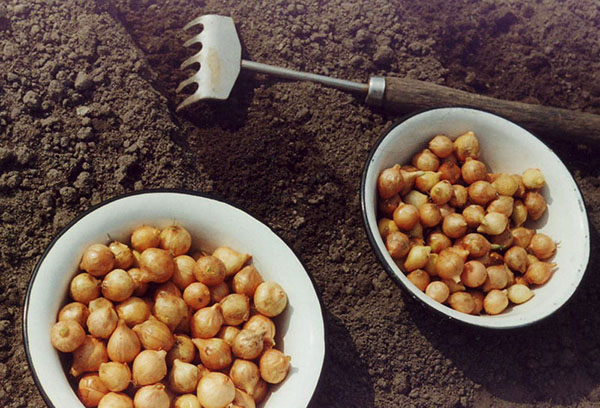
- If you plant a whole large onion, then a large "family" will form around it, all members of which will be very small, since many primordia will sprout.
- This variety has a very firm "heel" - the root part. It is carefully trimmed to live white formations. This contributes to the early development and growth of the bulb, increasing yields by almost half.
- To get new large bulbs, the planting one must be cut lengthwise into 2-3 parts so that a rudiment remains on each. You should be guided by the location of the roots on the bottom after trimming the "heel": they are unevenly located, on each part of the bulb there should be several pieces. On a properly cut, the bottom looks beveled.
- Some trim the top of the bulb almost shoulder-length, but this will result in an abundance of feathers and a shallow root.
Advice
If the site has an unfavorable infectious background (plants often get sick), then it is not recommended to plant cut bulbs. You can try this method on multiple instances first.
2-3 hours before planting, family onions with trimmed bottoms (but whole bulbs) are soaked in a pink solution of potassium permanganate (any fungicide is also suitable). To stimulate growth, drugs such as "Gumistar" ("Biohumus") are used, diluted in a ratio of 1 tablespoon to 10 liters of water. In this solution, the onion is soaked for 8-10 hours.Then the water is drained, the bulbs are cut, if this preparation method is chosen, and planted on the garden bed. Some people harvest such seed material for several days in an unheated room in order to grow roots up to 3-5 mm, and only then plant it.
Landing technique
Family onions are cold-resistant, but since they ripen quite quickly (70-80 days), there is no need for early planting. Regarding the timing, vegetable growers are divided into two groups: some plant it in the open field until the day of Luke (May 5), others later. The soil should warm up to +5 ° С (it stops “smearing”).
The beds for family onions are usually made about a meter wide, grooves 3-5 cm deep are cut along them at a distance of 20 cm.After spilling, the grooves are sprinkled with ash, onion halves are laid out in them, which are then closed with light hilling.
Advice
Planting is carried out in a staggered manner so that at the exit of the onion they form equilateral triangles with edges of about 23 cm - a very convenient layout.
It is impossible to press the bulbs into the soil, since the roots on the cut bottoms will be damaged, the plant will be sore for a long time.
Care
Caring for family onions consists of watering, loosening, forming a nest and feeding (if necessary). If the soil is favorable for growing, then the hassle is minimal.
Watering
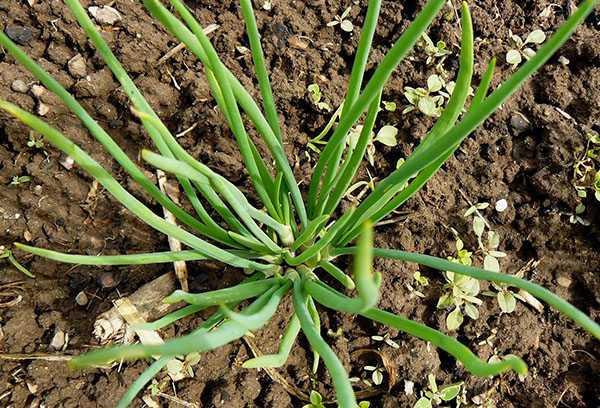
Experienced vegetable growers recommend not doing anything until the onion has grown a few feathers 10 cm each. So the root system will develop better in search of moisture. Then watering is done once a week. Humidification stops at the end of July. You can add ammonia to the water (2 tablespoons per 10 liter bucket). This will scare off the onion fly and serve as a top dressing at the same time. Loosening after watering or rains is mandatory.
In order for the moisture to evaporate more slowly and the weeds to be suppressed, it is advisable to mulch the beds with family onions by about 5 cm (to the height of the regrown feather). To do this, you can use the grass cut and cut by a lawn mower.
Top dressing
If the soil is depleted, then top dressing is necessary.
- The first is after the growth of 3 leaves. Urea or carbamide is used (a tablespoon per 10-liter bucket) mixed with half a spoonful of potash fertilizer.
- The second is at the 5-leaf stage. Potassium monophosphate is introduced - 1 teaspoon per 10 liter bucket of water.
If the soil is well fertilized in the fall, then you can do without additional summer dressings.
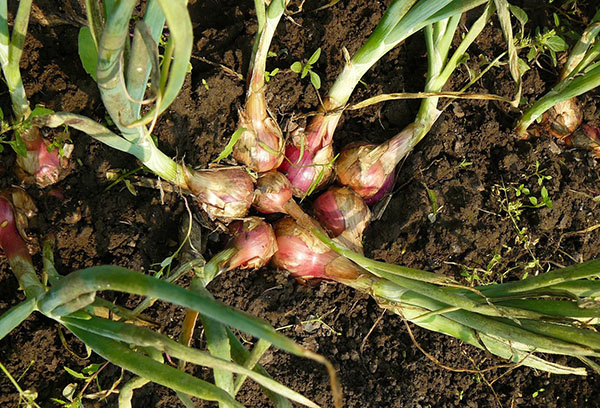
Nest formation
Around mid-June, you can see how many bulbs are planned in the nest - they begin to separate. This is the very period when it is possible to influence the presentation and quality of the crop. The optimal composition of the nest is 3-5 bulbs. If there are clearly more of them, then to obtain a larger turnip, the extra ones are carefully removed: with one hand it adheres to the nest, with the other, separate onions are carefully separated from the ground and taken out.
Plucked out rudiments with a feather are used for food or used in blanks. They can be cut and frozen and added to meals in winter.
Pest control
As it matures, the nest gradually emerges from the ground. Many vegetable growers deliberately rake off the soil so that the bulbs are warmed up and illuminated - this discourages the onion fly and promotes ripening.
If the tips of the feather turn yellow, then the onion is watered with salt water or slurry. Some people scatter a pack of salt in advance on the garden where they plan to plant family onions.
Sometimes vegetable growers notice that part of the onion feather on some specimens seems to be cut off. This is the work of the moth larva. To find it, you need to turn the soil around the affected plant - most likely, there will be a thick gray caterpillar that needs to be eliminated.
This variety is almost not affected by rot and fungus.
Harvesting
The cultivation of family onions ends with the harvest - in August, when the feather will fall. You should not overexpose, otherwise the turnip will be poorly stored.By this time, the bulbs are already on the surface, it remains only to divide them and send them to dry.
Advice
To make the onions more poured after harvesting, the feather and roots are not cut off, but they are given time to naturally dry out.
Those who once managed to grow a family onion no longer “let it go” from their gardens. It is so tasty and unpretentious variety. It can be stored for up to one and a half years. Usually onions are woven into bundles and hung on the wall.
Some, having unsuccessfully planted this variety several times, refuse it because of the small bulbs. However, having adopted the experience of successful vegetable growers, it is quite simple to correct the situation by competent preparation of planting material and soil.

and will be published shortly.