How to grow beet microgreens at home - and why?
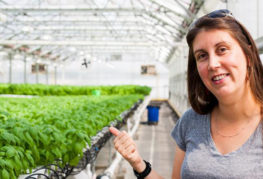
At home, beet microgreens are grown using the same technology as other vegetable crops. You don't have to have sophisticated equipment for this. You only need organic seeds, a tray of a suitable shape, a substrate, a sprayer for irrigation. Cut off microgreens at the stage of appearance of two true leaves. At this stage of development, the sprouts contain the maximum amount of vitamins, minerals and biologically active substances.
The benefits of microgreening beets for the body
Crop sprouts contain tens of times more nutrients than adult plants or germinated seeds. From one seed 2-3 sprouts appear at once. Microgreen (the second name for microgreens) contains a large amount of vitamins (A, B, C, E, K, PP), a lot of iron, calcium, potassium, magnesium, iodine, folic acid.
Eating beet sprouts helps to strengthen the immune system, improves digestion, and improves the tone of the body. The substances contained in microgreens help to strengthen the nervous system, improve vision, and improve the functioning of the heart and blood vessels.
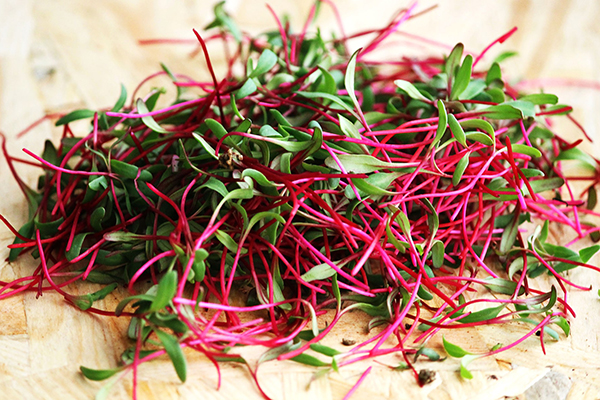
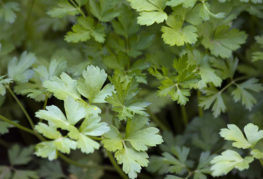
The taste of microgreen beets is delicate, mild. The sprouts are colored in an intense purple, which indicates the content of a significant amount of anthocyanins. These substances, belonging to the group of flavonoids, have antioxidant properties - they prevent aging processes and reduce the risk of cancer.
Necessary equipment and materials
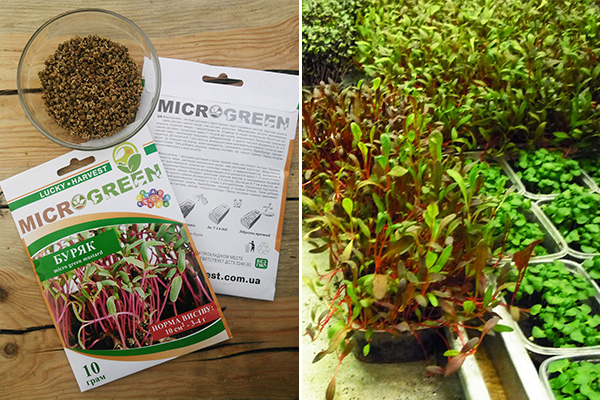
For planting on microgreens, you will need environmentally friendly beet seeds that have not been treated with chemicals. Today, producers have established the production of such seeds. They are sold, as a rule, in larger packages. Planting on microgreens should be dense, which means that much more seeds will be needed than with ordinary sowing. Some agricultural firms supply a mix of varieties to the market; the set includes several varieties of crops at once. For example, the company "Aelita" produces a mixture of 3 varieties of beetroot:
- “Just a treasure”;
- "Cook";
- "Gossip".
Any container of suitable size can be used as a germinator. The tray should be wide with low sides. A ceramic or glass baking dish, a plastic container are ideal. Automatic germinators are also on sale. The level of humidity and temperature in them is regulated and maintained by the device itself using a timer and sensors.
Microgreen can be grown in the ground:
- pure peat or its mixture with river sand and garden soil is suitable as a substrate;
- purchased soil is used with caution due to its possible processing in production with chemicals;
- before sowing, the soil is disinfected by spilling a solution of potassium permanganate or calcining in an oven at a temperature of 80–100 ° C.
You can use the same batch of soil for three cycles of growing microgreens. The inconvenience of using soil is that the sprouts are contaminated and they have to be washed.
The hydroponic method of planting seeds is gaining more and more popularity. In this case, the land is replaced with other materials. Used as a substrate:
- linen rugs;
- coconut fiber;
- jute mat;
- artificial felt;
- mineral wool;
- vermiculite.
You can get by with the available materials and sow seeds on cheesecloth, paper towel, folding them in several layers.
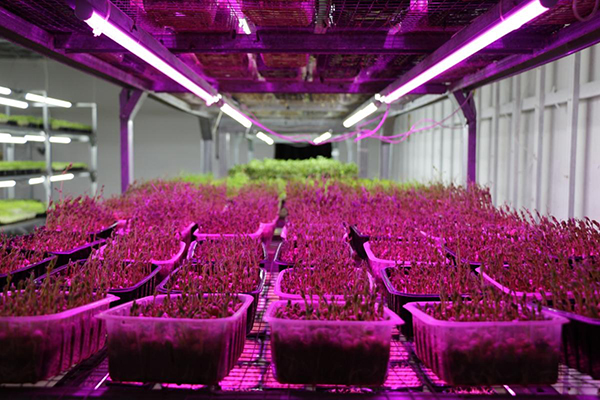
In autumn and winter, for the full development of sprouts, it is necessary to use additional lighting.For this purpose, they use LED lamps, phytolamps, fluorescent lamps. The optimal distance from the lighting fixture to the tray is 30–35 cm.
Sowing technology of seeds for microgreens
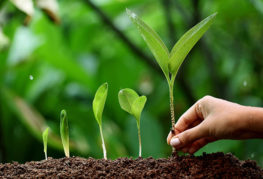
The full cycle of beet microgreen growing takes 7-10 days. It starts with sowing. The seeds are pre-soaked in filtered or melted water for 24 hours - this will speed up the germination process and increase the percentage of germination.
Sowing procedure step by step:
- A soil or other substrate is laid at the bottom of the germinator.
- The substrate is moistened with water until moderate moisture is reached.
- Prepared seeds in the amount of 2-3 tbsp. l. distribute evenly in the container.
- The stuck together seeds are carefully separated from each other with tweezers or a toothpick.
- Crops are sprayed from a spray bottle.
- The container is closed with a lid with holes for ventilation.
The container should be checked twice a day for emergence and the need for spraying. As soon as the seeds germinate, the tray is placed in a bright place or under a lamp by removing the lid.

Sprout care, cutting
Microgreens do not require special personal care; their cultivation does not last long. During this period, you just need to maintain the required level of humidity in the tray and turn on the backlight in low light conditions. Watering is more convenient to carry out using a sprayer, doing it twice a day.
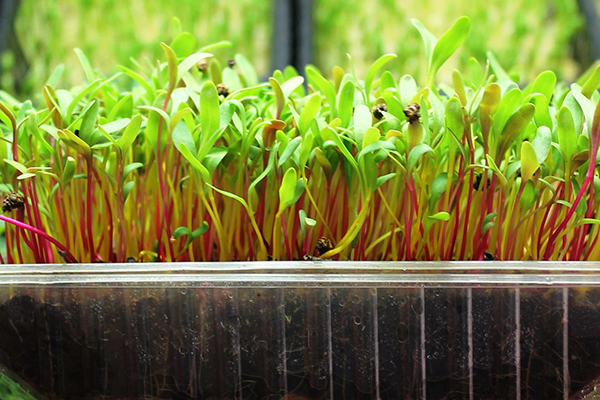
If a germinator with a mesh insert is used, drain the water from the sump daily and then fill it with fresh water. Microgreen does not need additional fertilizing; the plant substances necessary for development are obtained from seed embryos. After the sprouts reach a height of 6-7 cm and a pair of leaves are formed on them, you can remove the greens for consumption.
Cutting is done with sharp scissors. The sprouts are cut at the same time, or choosing the strongest ones. Overexposing the microgreen is not worth it, the leaves quickly coarse, lose some of the nutrients. Beet sprouts are eaten fresh, without using heat treatment. If necessary, microgreens can be stored in the refrigerator for several days by placing them in a plastic container with a lid.
Microgreens from beets and other crops are especially useful in the winter season, when the diet may lack vitamins. Even a beginner can handle growing sprouts. If the sowing technology is followed and watering is done often, but little by little, problems usually do not arise.
and will be published shortly.