Secrets of planting pumpkin in open ground and the basics of caring for it
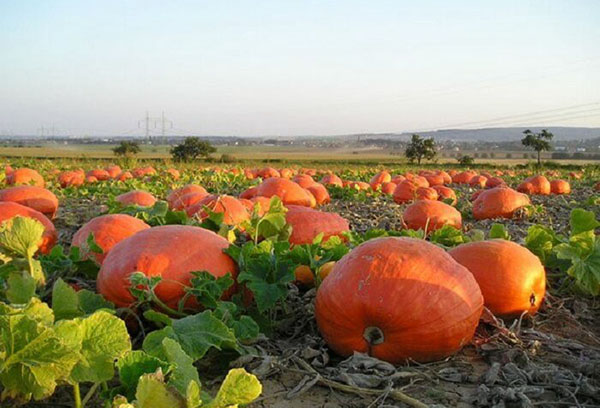
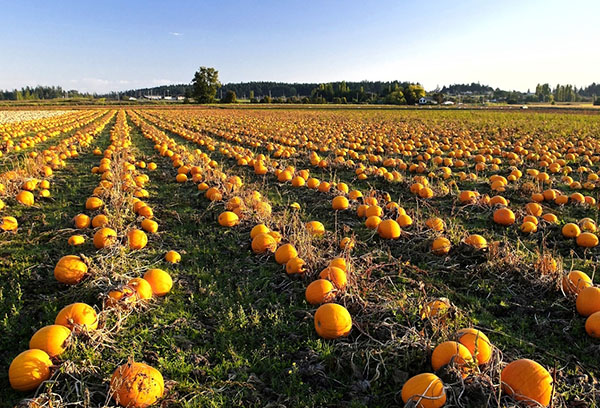
Among melons and gourds, there are real champions, whose yield exceeds the wildest expectations, often perplexing the gardener with the question of what to do with the ripened wealth. Growing pumpkin will help to verify this. Along with the high fertility of her bushes, gardeners are attracted by the ease of caring for them. But to show everything that they are capable of, numerous varieties of culture will be able only if the rules of agricultural technology are observed.
Site requirements
The pumpkin is not capricious, but it loves warmth and light and does not tolerate waterlogging. Therefore, it is better to place the beds with it in a dry and well-warmed area by the sun, where the ground does not cool much even at night. The ideal option for a pumpkin is to plant it on a compost heap. Here, her bushes will be warm and "satisfying", especially if you put superphosphate and wood ash (in small quantities) in each hole. For early and abundant fruiting, the plant needs a short daylight day - less than 12 hours.
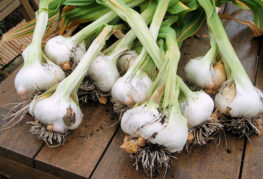
Suitable for pumpkin areas where they grew last season siderates or there were beds with the following crops:
- onions;
- cabbage;
- carrots;
- beets;
- soy;
- beans;
- beans;
- peas;
- peanuts;
- lentils.
On the soil freed after harvesting cucumbers, zucchini, squash, sunflowers and melons, its bushes will be less comfortable. In the same place, the pumpkin can be planted only after 5 years.
The quality of the soil determines the size and taste of the future crop. Pumpkin is capable of growing and bearing fruit even in poor land, but it will not work sweet and large in such conditions. Her shrubs require a lot of nutrients to form vegetables of impressive size. It is correct to plant the plants in loose soil with a neutral reaction, well filled with fertilizers.
The preparation of the site for the pumpkin begins in the fall. Before digging low-fertile soil, compost or manure (3-5 kg per 1 m²) is introduced into it. If the land in the country is heavy, add ash (200-300 g). You can replace it with lime without changing the dosage of the substance. The acidic soil is also treated. An obligatory procedure is filling the soil with phosphorus-potassium compounds. The deeper you dig the soil, the better the pumpkin will develop in it.
In the spring, the site is harrowed. They do this early, when the snow has just melted from it. It is important to comply with the recommended dates, otherwise the earth may dry out. In the future, light loosening of the soil is carried out, choosing weed roots from it. Before placing seeds or pumpkin seedlings in it, it is dug up again, deepening by 12-18 cm.
Advice
If the site was not fertilized in the fall, the nutrient compositions - humus (compost), superphosphate, wood ash - are introduced during planting, adding them to each hole and thoroughly mixing with the soil.
Presowing treatment
In order for pumpkin seeds to sprout quickly and amicably, they are processed before planting. This is especially important if they were collected long ago. Such seeds are correctly checked for germination. To do this, you need a solution of sodium chloride (at a concentration of 25-30%). Having poured the seed into it, they observe it. Quality seeds are heavy, they will drown. Empty and unripe - will remain on the surface.
There are several effective ways to pre-seed pumpkin seeds. The easiest way is to soak them and leave them to germinate in a humid environment: sawdust, a piece of cloth or moss, gauze. They will need a little time to hatch - only 3 days. You can warm up or bubble pumpkin seeds.To reduce the risk of damage to plants by pests and diseases, planting material is etched in a strong solution of potassium permanganate for 30 minutes.
Another option is to put pumpkin seeds in a nutrient solution made from ash or liquid fertilizer from a series of humates for a day. You can use a growth stimulant drug. Then they need to germinate. Having wrapped the pumpkin seeds in a damp cloth, they are allowed to lie down for 1-2 days in a room where the air is warmed up to 22-23C. The cocoon is not allowed to dry out by regularly sprinkling it with water.
Getting seedlings
There are 2 ways to grow pumpkin:
- through seedlings;
- sowing seeds directly to the beds.
Which one to choose depends on the type of culture and the characteristics of the local climate. In a seedless way, pumpkin is planted mainly in the south. In the middle lane and in regions where the summer is even shorter and colder (in the Leningrad region, in the Urals, in Siberia), when sown in open ground, its fruits often do not have time to ripen.
The gymnospermous variety of pumpkin requires a special approach. If the spring is cold and rainy, its seeds in the beds will rot without germinating. Through seedlings, nutmeg pumpkin is also grown, which is loved by summer residents for its sweet taste and impressive size of fruits. The pearl Muscat and Muscat de Provence varieties are especially popular with them.
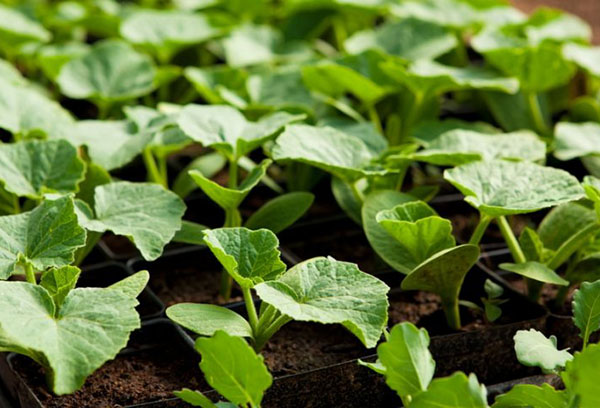
Pumpkin seedlings are grown in separate containers: plastic cups, peat pots. They should be wide - 10-15 cm in diameter. A fertile mixture of three components is poured into the bottom of the container:
- humus;
- turf land;
- peat.
Take them in a ratio of 2: 1: 1. The container is only half full. Put on top the hatched pumpkin seed, sprinkling it with the same substrate, but with a spilled mullein solution (5%) and supplemented with wood ash (10-15 g). Having well moistened the soil mixture, the container is covered with a film. This pumpkin planting is carried out in April-May. The exact dates are determined by the planned date of placing the plants on the beds: seeds are sown in containers 20-25 days before it.
Seedling care and planting in the ground
For germination, pumpkin seeds need two conditions:
- a lot of light (excluding direct rays of the sun);
- heat (the air temperature in the room with seedlings should be within 25-27˚C).
When shoots appear, it is reduced to 15-20˚C in the daytime and to 12-13˚C at night. Otherwise, the pumpkin seedlings will stretch out. But you can fight this too. When their age is 7-10 days, the section of the stem located under the cotyledons is twisted into a ring, and moist soil is poured on top. If done correctly, the seedling will be underground to the cotyledon leaves.
Pumpkin seedlings need moderate watering. It is impossible to allow waterlogging of the soil in containers. Young pumpkins are fed twice before planting in the beds. The nutritional composition is prepared on the basis of mullein, ammonium sulfate and phosphorus-potassium preparations.
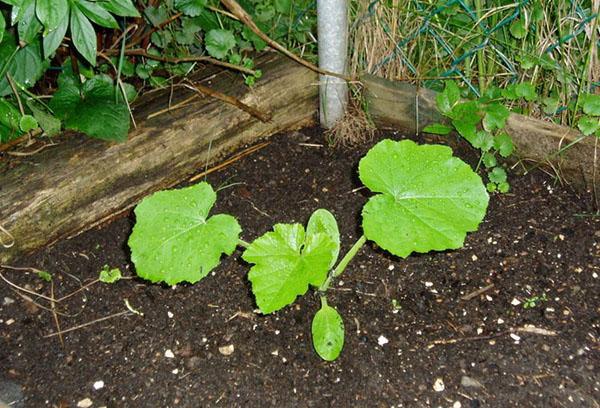
By the time they are placed in open ground, seedlings should release at least 3 true leaves. Before planting the pumpkin in the beds, it is hardened for 5-10 days. After placing containers with plants on the balcony or veranda, open the window. At first, airing is done for a short time (1-1.5 hours), but every day this time is increased. At the end of hardening, the window is kept open constantly.
Seedlings are planted in the same way as pumpkin seeds, but the depth of the hole is increased. The root system of plants should completely enter it and be 8-10 cm below ground level. Having poured 1.5-2 liters of hot water into the hole, they wait until it is absorbed, and then the seedling is transferred without breaking the soil coma. The voids are covered with soil and compacted well. The surface of the bed is mulched. Even dry soil can be used for this. Its task is to prevent the formation of soil crust and retain moisture.
Sowing in the beds
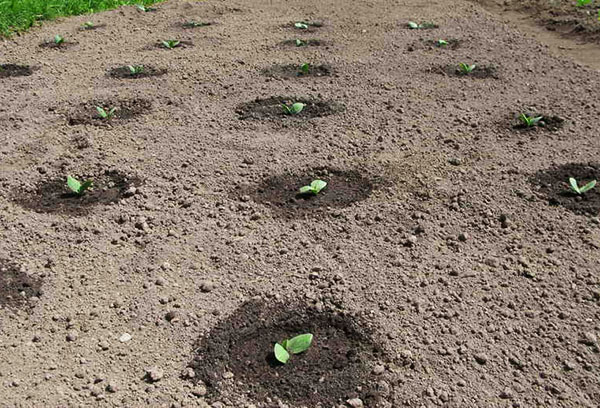
Planting the pumpkin in open ground will be possible when the ground warms up to 12-13˚C at a depth of 7-8 cm. This usually happens in mid-May.Having made a wide (70 cm) bed for the pumpkin, they mark holes on it. Correctly, if they are at a distance of 1 m from each other.Their diameter is made equal to 30 cm, and the row spacing is 2 m.
Advice
It will be more convenient to care for the landings if you arrange the holes in a checkerboard pattern.
After abundantly moistening each well with hot (about 50˚C) water and waiting for it to be completely absorbed, lay out 2-3 pumpkin seeds, leaving more free space between them. The planting depth is determined by the soil structure. On medium loam, pumpkin seeds are covered with a fertile substrate by 5-6 cm.If the soil is light, the thickness of its layer is increased to 8-10 cm.
After mulching the holes with humus or peat, they are covered with a film. To fix it, earth is poured around the edges. So pumpkin shoots will appear faster. They will have to wait about a week. When the sprouts appear from the soil, the shelter is removed.
At the stage of 2 true leaves, the seedlings are thinned out, leaving a maximum of 2 of them if the pumpkin is nutmeg or hard bark. Having chosen large-fruited varieties of culture (Zorka, Smile, Sweetie) for breeding on the site, you will have to limit yourself to one plant per well. It is not recommended to pull out extra seedlings - there is a high risk of injuring the root system of those remaining in the garden. It is better to cut them flush with the soil. If the threat of frost persists, the seedlings are placed under a film, stretching it over a wire frame or arcs.
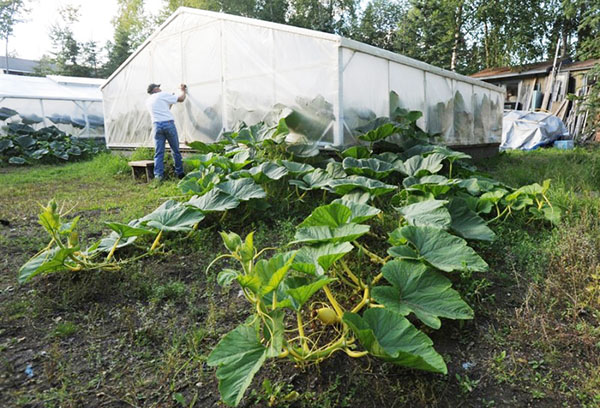
Alternative cultivation
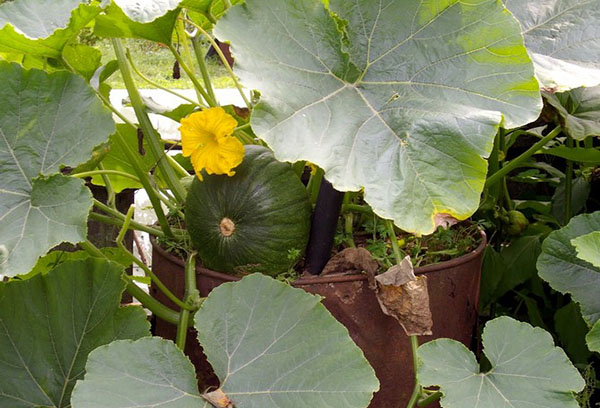
If the size of the site does not allow allocating a plantation for spreading pumpkin lashes, this is not a reason to give up growing a crop. You can plant seedlings in a barrel. For these purposes, old containers without a bottom are ideal. New drums will need to be drilled on the sides and bottom to avoid moisture stagnation. Dangling lashes of pumpkin under the weight of the crop can be injured by sharp edges and even break. An ordinary rubber hose will save them from this. It is cut in half and put on the edge of the barrel.
The walls of the container outside are painted in a dark color. This will help them heat up more and not rust. Having installed the barrel in a sunny place, it is filled with biomass, creating a kind of warm bed. Thin branches, paper, weeds with powerful roots, thick grass stalks - any organic matter that reheat slowly are placed on the bottom. Put on top what will quickly turn into compost: leaves, grass, vegetable tops. So a barrel for planting pumpkins is prepared in the fall.
If this is done in the spring, half-rotted organic matter from a compost heap, humus, sod or fresh grass is put into it. All this is carefully compacted. When there is no more space in the barrel, its contents are poured abundantly, first with water, and then with a solution of a special preparation, which contains effective microorganisms. Within a month, they will decompose organic residues into nutrients, making it easier for the pumpkin to absorb them. This explains the timing of the procedure - the end of April and the first days of May. While the bacteria are working, the pumpkin seedlings will grow to the correct size.
Advice
Instead of a barrel, you can use car tires by placing them on top of each other.
Fundamentals of agricultural technology
Pumpkin seedlings placed in the garden need frequent watering. They spend it every day until they finally take root in a new place. After that, watering is reduced to a minimum. In a rainy summer, you can do without it at all.
When the ovaries begin to resemble a fist in size, the pumpkin bushes will again need a lot of moisture. Water the plantings during this period once a week, spending 1 bucket of water per bush. Ample hydration is especially important for the pumpkin on hot days. Before harvesting, watering the plantings is stopped. If you neglect this recommendation, the fruits will be stored worse. Their taste will also suffer: they will become less sweet.
Pumpkin responds well to soil loosening. It is advisable to carry out them after each wetting, while removing weeds.They begin to loosen the soil from the moment of emergence, going deep into it under the bushes by 6-8 cm. The soil in the aisles is treated more intensively - by 12-18 cm. It is better to do this before moistening, then the water will reach the plant roots faster. When loosening, it is recommended to slightly spud the pumpkin bushes. This technique will make them more stable.
Planting is fed often - with a frequency of 1-1.5 weeks. The nutritional composition is prepared from mullein (1 l) and nitrophoska (2 tbsp. L). They are stirred in 10 liters of water. 1.5 buckets of solution are poured under an adult bush. The first feeding is started when a week has passed from the moment the seedlings are placed on the beds. If the pumpkin seeds were planted immediately in the ground, you need to count 3 weeks from the date of the procedure. During this period, it is better to water the plants with 4 times diluted water with manure or chicken droppings. Another fertilizer option is wood ash (1 glass of substance per 10 liters of water).
Before the first feeding, shallow (6-8 cm) grooves are made around the pumpkin seedlings, stepping back 10-12 cm from the plants. The nutrient composition is poured into them. In the future, the depth of the grooves is increased by 4 cm, digging them at a distance of 40 cm from the bushes. Having introduced fertilizers, the grooves are sprinkled with earth.
Bush formation
The most important thing in pumpkin care is to form the bush correctly. When the length of its main stem is 1.3-1.5 m, it will need to be pinched. Of the numerous side shoots, only 2 are left, removing the extra ones. In length, they should reach 60-70 cm. In order for the pumpkin to mature large, the ovaries are normalized: one for each shoot.
The fruit will flow faster if you press the whips to the ground. This is done with a small wooden spear or wire. Soil is poured on top of the shoot. The optimum thickness of its layer is 6-7 cm. Additional roots are formed on the shoots underground. So that ripening pumpkins do not get dirty in the ground and they are not affected by rot, glass or a piece of plywood is placed under the fruit.
If the pumpkin is decorative, its shoots will need support. Growing rapidly, they can easily disguise old buildings, pillars, sheds, fences on the site, twine a gazebo or trellis, creating a secluded green corner. But the lashes of such plants are heavy, so you need to find a reliable support for them. Organic compounds are more suitable for feeding them. Otherwise, the decorative variety of the crop is grown in the same way as the usual one.
A pumpkin, planting and caring for which will require minimal skills from a summer resident, is a very grateful plant. With competent agricultural technology, it is able to feed more than one family with its tasty and healthy fruits. Despite the heat-loving culture, it is grown almost everywhere. Even in unsuitable conditions for pumpkin in Siberia and the Leningrad region, its bushes can bring a harvest. You just need to equip warm beds and prepare high-quality seedlings.


and will be published shortly.