How to grow lobelia: from seed to adult plant
Mixborders, rockeries and alpine slides on the site, as well as flowerpots and hanging pots can decorate the graceful lobelia flowers. Planting and caring for a plant requires some gardener attention. Since lobelias bloom 2-2.5 months after planting the seeds, they are grown by seedlings. This means that you need to sow the seeds correctly, pick the sprouts, and then, if you wish, plant them in open ground. Each stage of cultivation has its own conditions of detention.
Characteristics, varieties
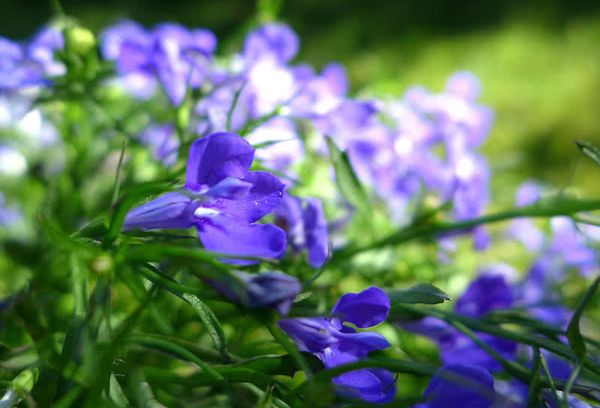
Lobelia is a small creeping shrub with beautiful flowering. Grown as an annual: the culture was brought from South Africa, therefore it does not tolerate winters. Regular and ampelous lobelia stand out in shape. The first does not exceed 30 cm in height. In the second variety, the branches are longer, the size of the bush reaches 0.5-1.5 m.
Lobelia owes its popularity in landscape design to various shades of flowers. There are about 300 varieties in total, the most popular of them are:
- Red: Red Cascade, Marquise, Red Fountain.
- Pink: Rosamunda, Pink cascade, Riviera pink.
- Whites: White Lady, Snowball, White Riviera, White Cascade.
- Lilac: Margot, Miss Clebran.
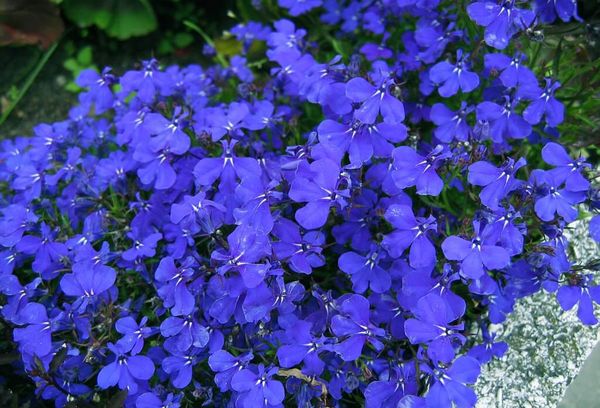
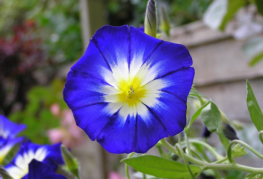
- Blue: Sapphire, Niagara, Blue Breeze.
- Blue: Crystal Palace, Blue Cascade, Emperor Vili, Cozy Corner.
- Multicolor: Serpentine, Viennese Waltz, Pearl Thread.
Interesting fact
All blue lobelia varieties are characterized by increased seed germination and resistance to adverse conditions
Sowing seeds for seedlings
Cultivation begins with the determination of the period for moving seedlings into open ground. Flowering occurs approximately 2-2.5 months after planting the seeds. Accordingly, in order for the buds to open by summer, sowing is done in March. It is allowed to sow lobelia at the end of February, but the seedlings will need to extend daylight hours using a phytolamp. Without additional lighting, winter plantings grow elongated and weak.
For seeds to germinate, they must be sown in a special potting soil with a neutral pH. An alternative is a mixture of sand, peat and forest land in equal proportions, no need to add humus. The soil must be loosened or passed through a sieve. Peat or vermiculite is added to heavy soils.
2-3 days before sowing, the soil must be treated with a fungicide solution to prevent fungal diseases of seedlings. Others soil disinfection options - exposure to frost or roasting in the oven. The seeds are not processed due to their small size.
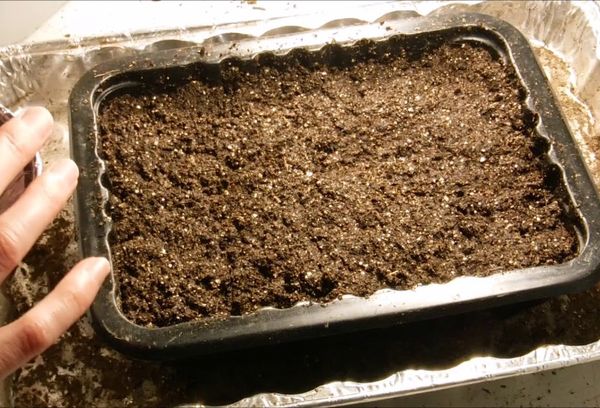
Sowing containers are taken low, up to 4 cm deep. For the first stage of cultivation, ordinary plastic containers are suitable. A mandatory requirement for the container is drainage holes at the bottom.
How is landing
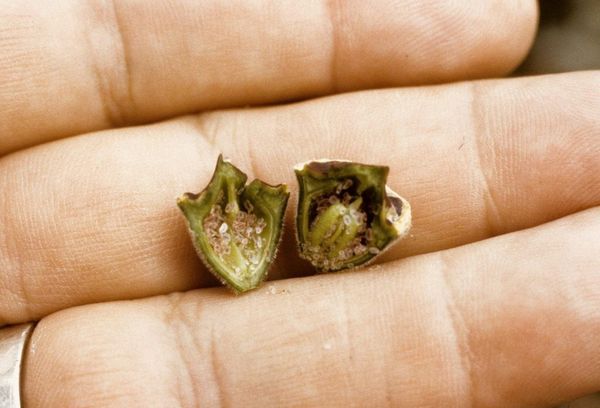
First of all, the soil is poured into the container, slightly compacted and moistened. Seeds are sown only after moisture has descended to the lower parts of the soil. They are very small, resembling pollen, it is difficult to distribute them evenly over the soil - several methods are used for this:
- mix seeds with sand and sprinkle it on the ground;
- lay a thin layer of snow on the soil, sprinkle seeds on it and distribute them with a toothpick (in this case, you do not need to water the soil first);
- pick up a small amount of seeds with the moistened tip of a toothpick or pencil, transferring them to a box; the tool is rotated slightly at an angle so that the seeds move into the ground.
There is a granular variety of seeds. Each granule contains 6-7 pieces. It is more convenient to sow them than to place them. When planting in one container, a distance of 3-4 cm is observed between the granules, a more convenient option is sowing in peat tablets.
Important! It is not necessary to sprinkle the seeds (neither a scattering nor granules) with earth or peat: the material grows on the surface. To make the seedlings appear faster, the seeds are irrigated with a stimulant solution, for example, "Epin" or "Zircon".
The peat washers contain all the necessary nutrients, they are surrounded by a protective shell and do not allow the roots of the sprouts to get entangled. Therefore, the germination capacity of seeds in washers is higher, feeding and picking are not required. However, the method is not suitable for sowing seeds in bulk.
The order of sowing in peat tablets:
- Soak washers in water until they swell.
- Place the seed pellet in a special groove on the surface.
- Put all washers in one drawer.
How to care for small sprouts:
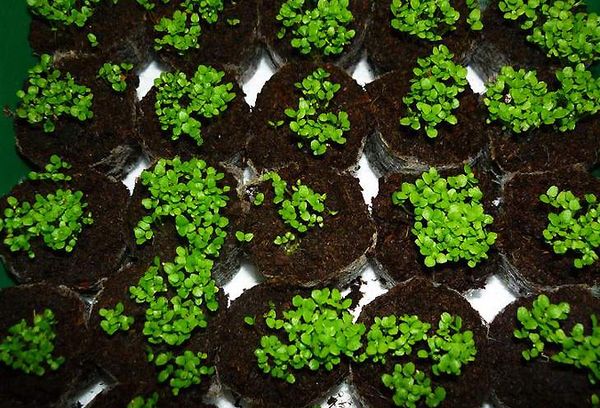
- The box with seeds is covered with foil or a transparent lid and moved to a warm, bright place. Lighting should be bright, but diffuse. The optimum temperature is + 18–20 ° C. Lobelia is sensitive to heat and is afraid of drying out the soil, therefore, at temperatures above +22, you should not leave sprouts for a long time without a cover or film. Seedlings appear at low temperatures, but not so quickly.
- Sprouts usually appear within 10-14 days. The box must be ventilated: starting from the second day after sowing, the containers should be opened daily for 20 minutes. It is necessary to remove condensation from the lid or film, since drops of liquid falling on the soil press the seeds, and they do not germinate.
- The hardening is extended by several minutes every 1-2 days. Gradually, the sprouts get used to room temperature, and the lid becomes unnecessary. Abrupt abandonment of greenhouse conditions will destroy the seedlings.
- Watering is done only by irrigation from a spray bottle or drip through a syringe or syringe. Another option is through a pallet. Moreover, if the seeds are sown on the snow, the soil is not moistened soon. When watering from above, the tender sprout can break.
- Young plants are transplanted into separate containers when the first true leaves appear. If you are late with a pick, then the bushes will be difficult to separate from each other without damaging their roots.
Advice! If you plan to grow a bush in a hanging planter at home, then the seeds are sown directly into the pot.
Picking and further care
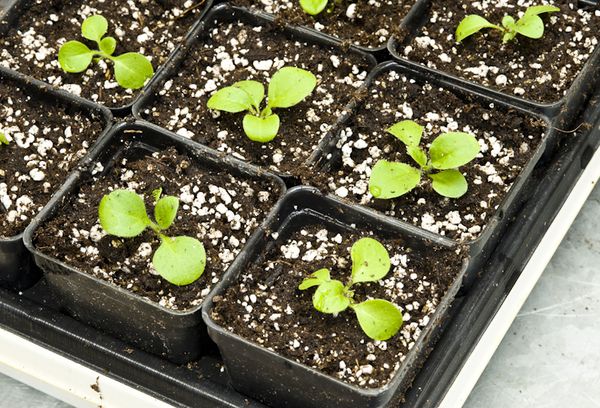
With the appearance of three true leaves, or when the sprouts reach 3-4 cm, it is time to transplant into separate containers. They are resettled in heaps, 3-4 pieces. The healthiest and strongest-looking sprouts are selected.
A drainage layer of expanded clay and broken brick is laid at the bottom of the boxes. The seedling is neatly hooked up with a clod of earth and immediately moved to a new place of residence. After picking, the seedlings are watered abundantly and placed in a shaded place for a couple of days.
Advice! For the density of an adult plant, 5-7 shoots can be dived into one box at once.
After the seedlings begin to grow after the pick, they begin to pinch it. This procedure allows for lush shrubs with many side shoots to grow. Using scissors, you need to carefully remove the top of the central shoot. Pinching is not necessary for ampel varieties.
Picking up bushes from peat tablets is not required. You just need to remove the protective shell and place the tablets directly into the ground.
Young lobelia is stored in a room with a temperature of + 13-17 degrees. It is better to wait with dressing until planting in open ground, they can harm the developing plant.
Outdoor transplantation and care for an adult plant
Lobelias are transplanted into the garden with the first flowers, i.e.by the end of May, when the last spring frosts pass. It is recommended to harden the bushes before planting. For 1-2 weeks, the boxes are exposed to the street every day, so as to avoid direct sunlight. A couple of hours in partial shade is enough for a start.

A well-lit place for planting is chosen, but with light shading. The soil should be loose and moderately moist, preferably not too fertile. Lobelia grow well on loam and sandy loam soils. You can make your own soil by mixing sand, clay and garden soil.
Stages of planting lobelia in open ground:
- The landing pit is 20-30 cm deep.
- If a group of lobelias is planted, then a distance of 15-20 cm is maintained between the holes. If you want to achieve the effect of a carpet, then the lobelias are planted at a distance of 10 cm from each other.
- A drainage layer of expanded clay or broken brick is poured into the bottom of the pit.
- Bushes from pots are transplanted using the transshipment method. A clod of earth is placed in a pit on a drainage layer and covered with prepared soil.
- Small young lobelias can be planted in one hole for 3-5 pieces.
How to care for lobelia outdoors
The main care for adult flowers is the constant maintenance of soil moisture. If it dries up, the plant will stop blooming. Like seedlings, outdoor plants are sensitive to lack of moisture. In dry times, you will need two waterings per day: morning and evening. To maintain moisture, the soil around the bushes is slightly loosened and mulched.
After the lobelia has taken root in the area, you can continue the pinching procedures. After the first stage of flowering, hygienic pruning is carried out. All branches that have faded are shortened by 3-5 cm. This accelerates the appearance of young shoots and brings a new stage of flowering closer.
Advice! Lobelia is cultivated as an annual, but it can be saved for the second year by moving it with a clod of earth to a flowerpot and putting it indoors for the winter.
Lobelia growing in the open field needs to be fertilized 2-3 times during the summer. The first top dressing is done 1-2 weeks after planting the seedlings on the site. The essential elements for abundant flowering are potassium and phosphorus. The introduction of potassium sulfate provokes lush flowering with a minimum of green mass. This is the first feeding. The next two are complex mineral.
Organic fertilizers are not the best option for lobelias. It is recommended to avoid excess nitrogen in the soil. If you notice that after feeding the green mass began to actively develop, then you should refuse to re-apply fertilizer. The growth of leaves affects the number of flowers.
Possible growing problems
Lobelias do not tolerate drought well, but stagnant moisture is also detrimental to these delicate flowers. To grow seedlings, a drainage layer must be laid in a box, the same is done when planting on a site. If you overmoisten lobelia, its stems become covered with white mold. Lack of moisture is determined by twisted and dried leaves. The best prevention of these problems is proper care.
After transplanting bushes into open ground, lobelia can be paid attention slugs, especially if the plant surrounds a body of water.

There are three ways to get rid of pests:
- Around the planting, fences 5-6 cm high are installed.
- Calcium fertilizers are introduced, which scare off parasites.
- Slugs are caught with baits: wet pieces of cloth, pieces of plywood, paper. They are left overnight near the bush, by the morning pests climb into traps.
Aphids are a fan of spoiling a flowering planting. Spraying with an insecticide, for example, "Fitoverm", will help to defeat the insect. A plant can be colonized by spider mite colonies if it is kept at low air humidity. It is easy to identify the pest by the cobwebs and brown spots on the leaves. To get rid of the tick, you need to increase the humidity and treat the lobelia with soapy water.
How to register a plot
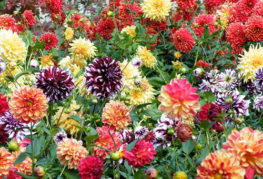
Wherever the lobelia is located, it becomes a worthy participant in the composition. Carnations will become excellent neighbors in a lobelia flower bed, balsam, verbena, pelargonium, marigolds, petunia, chamomile, iris, pansies, edelweiss, fuchsia. The neighborhood with horsetail and fern will be harmonious.
The lobelia plant creates a charming design for garden paths, reservoirs, multi-tiered flower beds. Its wild bloom begins in June and lasts all summer. With proper care, flowers will be bright and large. Even a novice gardener can grow lobelia on the site, since all the rules for planting and care are standard for flowering plants.

and will be published shortly.